A Women's Guide to Mountain Biking!
What can you Expect Riding Off Road?
Well, just about anything! You'll find basic dirt roads like what you drive on sometimes, and more rugged roads—essentially just two tracks side by side with a strip of grass or gravel in the middle called double-tracks (formed by the rare trucks that travel the road) .
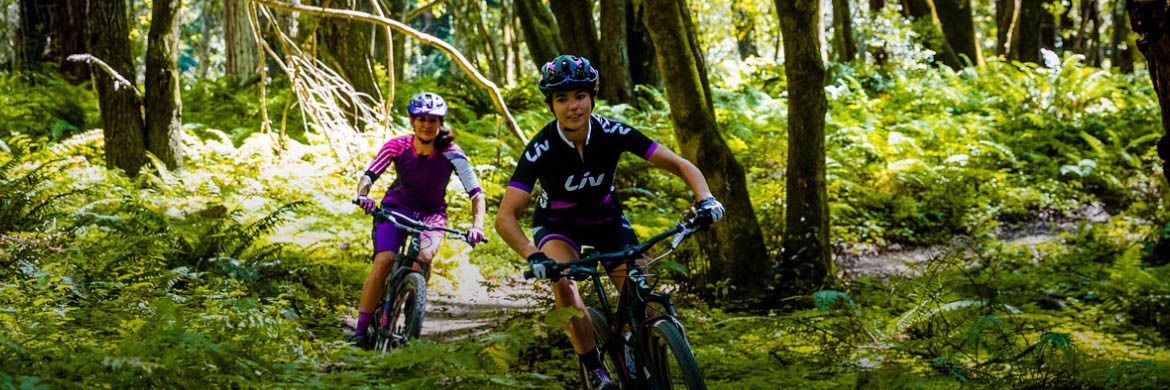
And, then, there's every mountain biker's favorite, the singletrack trail, which is just wide enough for a single rider and usually as fun as riding a roller coaster because it zigs and zags, goes up and down and can include whoop-de-doos, drop-offs, berms and all manner of obstacles.
Of course, you're usually in a somewhat remote location and should expect all terrain, too, from hardpacked dirt, to gravel, sand and mud, to even some pavement patches. And, you'll find many challenges, which can include very steep hills you'll have to walk up (and down!), streams or even rivers crossing the trail that you might or might not be able to ride through, ruts or washouts to watch out for, downed trees and even the occasional wild animal.
All of which is why we recommend you start at your own pace and pick trails that suit you and your abilities.
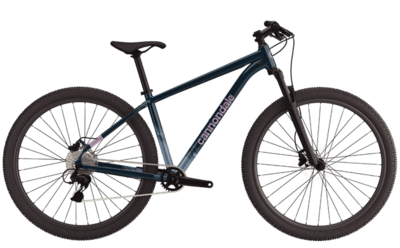
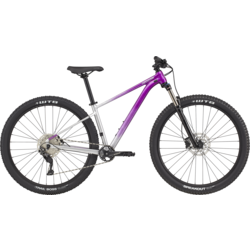
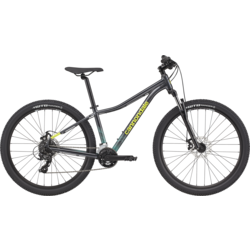
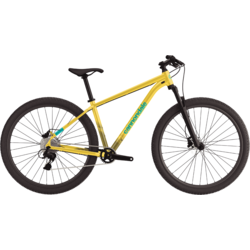
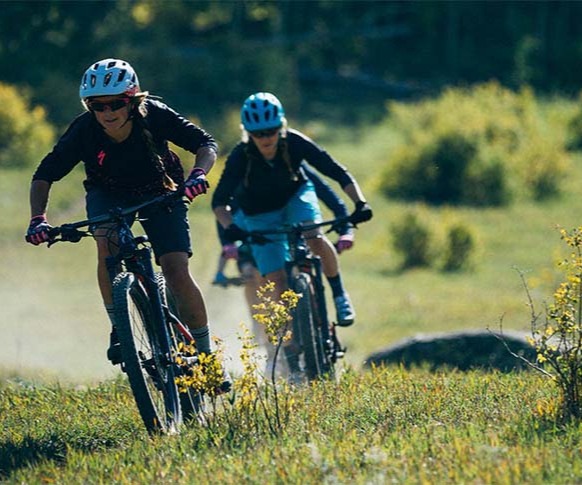
Women's Specific Mountain Bikes
Get the Right Mountain Bike
These days there as many types of mountain bikes as there are trails and surfaces to ride them on. We're experts and are happy to help you pick out the perfect model. Here are some fun questions and things to think about that will help you choose and help us find you the perfect machine.
1. Where will you ride?
2. What's your budget (be sure to include enough for important accessories you'll need such as a helmet, gloves, seat bag with key tools, etc.)?
3. Who will you ride with and what and where do they ride?
4. Have you set any riding goals, such as learning new skills or even trying racing?
5. Are you the type of person who likes high-tech things or are you more inclined to prefer simplicity? Likewise, do you like to have the best of things or are you more interested in getting a great value?
6. What other sports do you enjoy and do you do them for fun or are you competitive?
7. What would you like to get out of your cycling, fun, fitness, friendship?
Contemplating these questions and having the answers will help us help you select the right bicycle. And, when you visit our store be sure to wear comfortable riding clothing and shoes so we can put you on some bikes to find a perfect fit. Today, some manufacturer's offer women's-specific mountain bikes and all our bicycles can be adjusted to fit a wide range of women nicely.
One detail that's key to riding comfortably is having the right seat, one that fits nicely, supports you well and feels great throughout your rides. Most new bicycles today come with nicely designed seats, even women's-specific models, however, you'll want to try the seat for a while and make sure it's right. If not, we can help you find a seat that is. Keep in mind that just because you're a woman doesn't mean you necessarily need a women's saddle. Most women's saddles are designed to fit a wider pelvis, so if you have slim hips, you may want to consider a narrower men's model. Also, note that mountain-bike saddles are generally designed to allow you to quickly change position so you want to find one that's easy to slide off the back of and stand up from, too.
Dress Right for the Trail
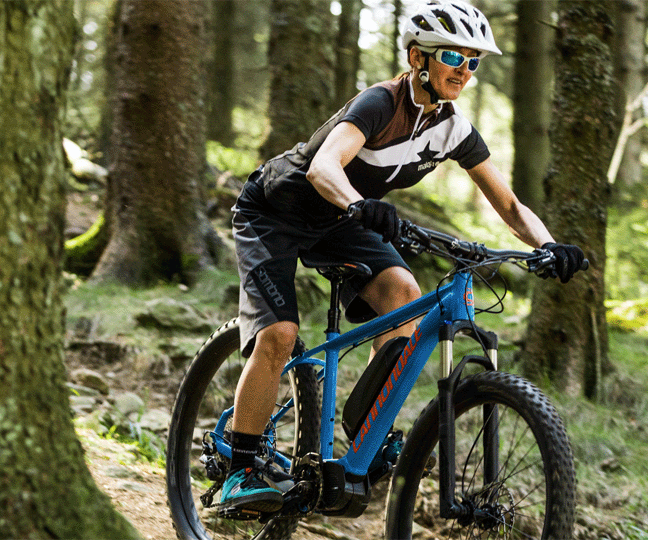
We recommend wearing mountain biking-specific clothing because it helps keep you comfortable and safe. For example, mountain-bike helmets are made to vent well even at mountain biking's slower speeds so you stay dry and comfortable, plus they include visors to guard you from the sun, mud and branches. Of course, they pass all safety standards, too.
Consider cycling eyewear, because it wraps around your face to protect your eyes from airborne debris, branches, and also from UV rays and glare. Some lens tints, such as orange and brown are even designed to enhance your vision so you can see variations in the terrain better. These lenses also work well when riding in and out of trees, which shade the trail and can make it hard to see obstacles in your path. Some eyeglasses have vented lenses to prevent fogging, too.
Be sure to wear full gloves, too, for comfort and protection. Mountain-bike gloves have light padding to provide an optimum grip and excellent control, and they're typically reinforced on the backs and feature terry panels for wiping your face. They breathe well, too, even on hot summer days.
You'll want a nice pair of mountain-bike shorts, which also provide comfort and protection. Plus, they'll make you feel and look as good on the bike as when you're getting that post-ride burrito! These usually feature a baggy outer short or skirt made of a tough fabric to protect you from bushes and branches out on the trail, and a liner short with padding. Quality cycling shorts wick and breathe to keep you dry and comfortable and they are usually seam-free to prevent chafing and often include handy pockets, too. Some models have zip vents, mesh panels to enhance ventilation and other features.
Keep in mind that because you shift your weight on a mountain bike much more that you do on a road bike, many mountain-bike shorts have less padding than their road counterparts. We recommend finding a pair where the padded liner short fits like a second skin and remember that your skin is the only thing you wear under the liner. Another option is to buy just the liner short, which some brands sell separately, and wear your own shorts over them. If you go this route, be sure to wear shorts that wick and are roomy enough to maximize your freedom of movement, and that don't include seams that can chafe and cut off circulation.
A lot of people start biking in a basic T-shirt. We think you'll find a cycling jersey much more comfortable and convenient. Cycling jerseys or camis not only flatter your figure, but wick and breathe to keep you dry and comfortable all ride long, too. They often feature pockets in the rear for carrying essentials along, such as your cell phone or car keys.
Finally, we recommend mountain-biking shoes, which are stiff enough in the soles to enhance your pedaling and protect you from getting sore feet from pedaling. These shoes have treaded soles for excellent traction off road. And, you may want to consider clipless-compatible shoes for use with clipless pedals.
Kozy's has a great selection of women's clothing and accessories and are always happy to answer questions and make recommendations.
Practice
Believe it or not you can start working on your mountain-bike skills in any open grass field or parking lot. Here are several tips that will make you more comfortable on your bike before you hit the trails.
1. While moving in a straight line and standing up out of the saddle, move your weight and hips forward toward your handlebars and then back behind your rear tire. This stretches your muscles and gets you comfortable moving around above your bike. Also, practice moving side to side while pushing your bike in the opposite direction. Keep your bicycle traveling in a straight line while practicing these moves.2. While using your front and rear brakes equally, practice stopping quickly. The harder you brake the more you'll have to push your weight behind the saddle to oppose the braking forces, which try to throw you forward. Start slowly and gradually work up to the point where you can stop really quickly, remain balanced and in control, and not skid your rear tire at all.
3. Have a slow race with friends. In other words, see who can be the last to the finish line. This drill forces you to go as slowly as you can, even balance in one spot if you can. If you go backwards, though, you lose. You'll find that the slower you go, the more it helps to get up out of the saddle, relax and balance your weight equally on your hands and the balls of your feet.
4. Set up cones or rocks or maybe water bottles and practice riding figure eights. Try to make your corners smooth and be sure to look up towards the exit of the turns. Practice entering the corners at different angles and speeds, too.
5.Master shifting. Become familiar with your rear shifter (located on the right with the rear brake lever). This shifter controls the smaller more incremental shifts. Use this when the climbs/descents become slightly more or less steep. The front shifter (located on the left)controls larger changes. Use this when you need to make it a lot harder or easier to pedal, such as when you go from a flat stretch to a steep climb. You can't hurt your bicycle by shifting it and it's important to shift often so that you are always in a comfortable and easy-to-pedal gear. So, it's important to practice and get confident so you hit the right gear when you need it every time. Be sure to ask if you have any questions or need a demonstration.
6. Practice going down and up curbs. First practice pulling up on the front end of the bike to get a feel for the timing and effort needed to lift the front wheel off the ground. Don't jerk on the handlebars. Instead, lean back slightly to move your weight off the front of the bike and at the same time gently pull upward on the handlebars. Stay relaxed and balanced. Once you can lift the front wheel, you're ready to try riding off a curb. To do this lean slightly back and hold onto your bars and the bike will roll right off the curb. It's essentially the same move to ride up a curb but you need to time the front wheel lift to clear the curb and stay up off the seat and relaxed so that when your rear wheel strikes the curb it doesn't surprise you or hit too hard and damage the wheel. With practice you can shift your weight to the rear as you approach the curb, raise the front wheel and then move forward and lift the rear wheel, too.
7. If you decide to use clipless pedals be sure to practice getting in and out of them repeatedly. Do this on grass. Straddle the bike and click your right foot into and out of the right pedal about 100 times (seriously). Repeat with your left foot. This fun little exercise may entertain your neighbors but it's important because it trains your muscle memory so your feet will do the right thing when needed. Translation: you won't crash because your feet were stuck in the pedals.
Know & Follow the Rules of the Trail
Only ride on trails that are open to mountain bikers and stick to the existing trails. If you find a section that's too technical for you, get off your bike and hike it instead of cutting a shortcut around it. If the trails are really wet, consider riding somewhere else to prevent damaging them. Like everything you do in wild places, leave no trace and pack out everything you pack in. As a mountain biker, it's your duty to yield the trail to all other users. Ring a bell or give a friendly greeting to let others know you're there as you slow down to walking pace—or stop completely. Be extra careful around horses so you don't spook them. Give them extra room and follow the instructions of the horseback rider. By being socially and environmentally responsible like this, you'll make a good name for mountain bikers everywhere and help to keep the trails open.
Be Prepared
Check the weather before you head out and be sure to tell someone where you're going as well as how long you expect to be gone. Although you may not see much more than a squirrel or two, know what kinds of wildlife are in the area where you'll be riding, when they're active, and how to deal with them.
Since you'll be out in the wild, you'll need to carry some food and water. Most mountain bikers prefer to use a hydration pack instead of bottles because the latter can get dirty from the dirt and mud coming off the front wheel. Packs are also handy for carrying extra clothing and gear. Hydration packs come in many sizes, based on the volume of liquid and gear they can hold and the size of person that will wear them. While many packs come in sizes and styles for women, depending on your build, you may not need a women's-specific model. Make sure that the pack sits comfortably on your back when you're seated on your bike and the waist belt doesn't sit too high or too low.
Because hydration packs come in several bladder sizes, decide how much liquid you'll need on your longest, hottest rides and how much extra gear, such as a rain jacket, you may want to carry.
On rides over 90 minutes long you should carry water and/or a sports drink and gels, fruit, your favorite snacks and/or energy bars for refueling. Since there's no convenience stores on the trails it's wise to bring a little more food and water than you think you'll need just in case you decide to do the extended loop! Don't forget to leave room for tools, car keys, an I.D. and a cell phone, too.
A flat tire is always a possibility, too, so be sure to carry a pump, spare tube, patch kit and tire levers along with you on every ride. Some riders find it helpful to write down instructions for fixing a flat to carry with them when they ride as well. If you're not sure how to do it, we're happy to explain it and set you up with the correct pump and tube for your bike. Keep in mind that if you ride with friends someone will usually know how to fix a flat and be able to help you should you get one.
If you plan on exploring new terrain, it's a good idea to bring a map so you'll know where you are, how far you're going, and how to get back. A small first-aid kit can be handy, too. Again, if you ride with friends you'll probably be more prepared than riding alone because everyone can carry certain essentials to take care of whatever happens on the ride.
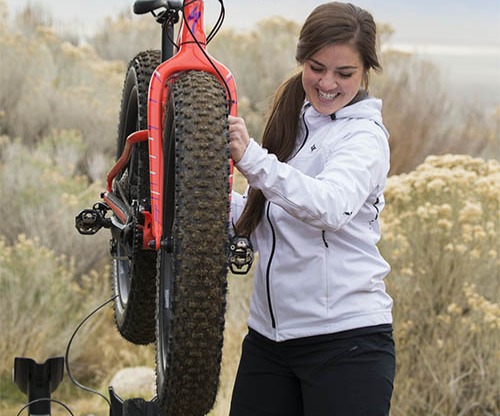
Check your Bike
Inspecting your bike for safety before every ride ensures your adventures will be a success, too. Check that both tires have the right amount of pressure for the terrain you'll be riding—higher pressure for hard-packed dirt, lower pressure for soft, loose trails. You'll usually find the recommended maximum/minimum pressure for your tires written right on the sidewalls. Also, be sure the chain is lubricated. If the links are bright and shiny the chain is probably dry. Apply a drop of lube to every link. Ideally you'll do this the night before the ride to let the lube dry and stick to the chain, then wipe off the excess in the morning before the ride.
Make sure your wheel quick-releases are tight and that your wheels are still round and true. Then check that your brakes are working correctly. And, then go over your bike with Allen wrenches checking that there aren't any loose bolts on the stem, brake and shift levers, seatpost, derailleurs, pedals, crankset, etc. Just put a wrench on the bolts and see if they turn if you try to tighten them. If everything feels tight, no worries. If some bolts turn it means they were loosening and should be good now. Remember that If you're uncertain about something on your bike, you can always swing by our shop before you hit the trails and we can take a look and make sure your bike is safe and ready to go.
Ride with Friends
We already mentioned riding with friends, but it's worth repeating: a great way to start and enjoy mountain biking, and the best way to be safe and enjoy rides more is to hit the trails with your buddies. And, a great way to do this is to join a group or club. Here, you'll meet new people to share mountain biking tales and trails with. Get some friends together and start your own riding group!